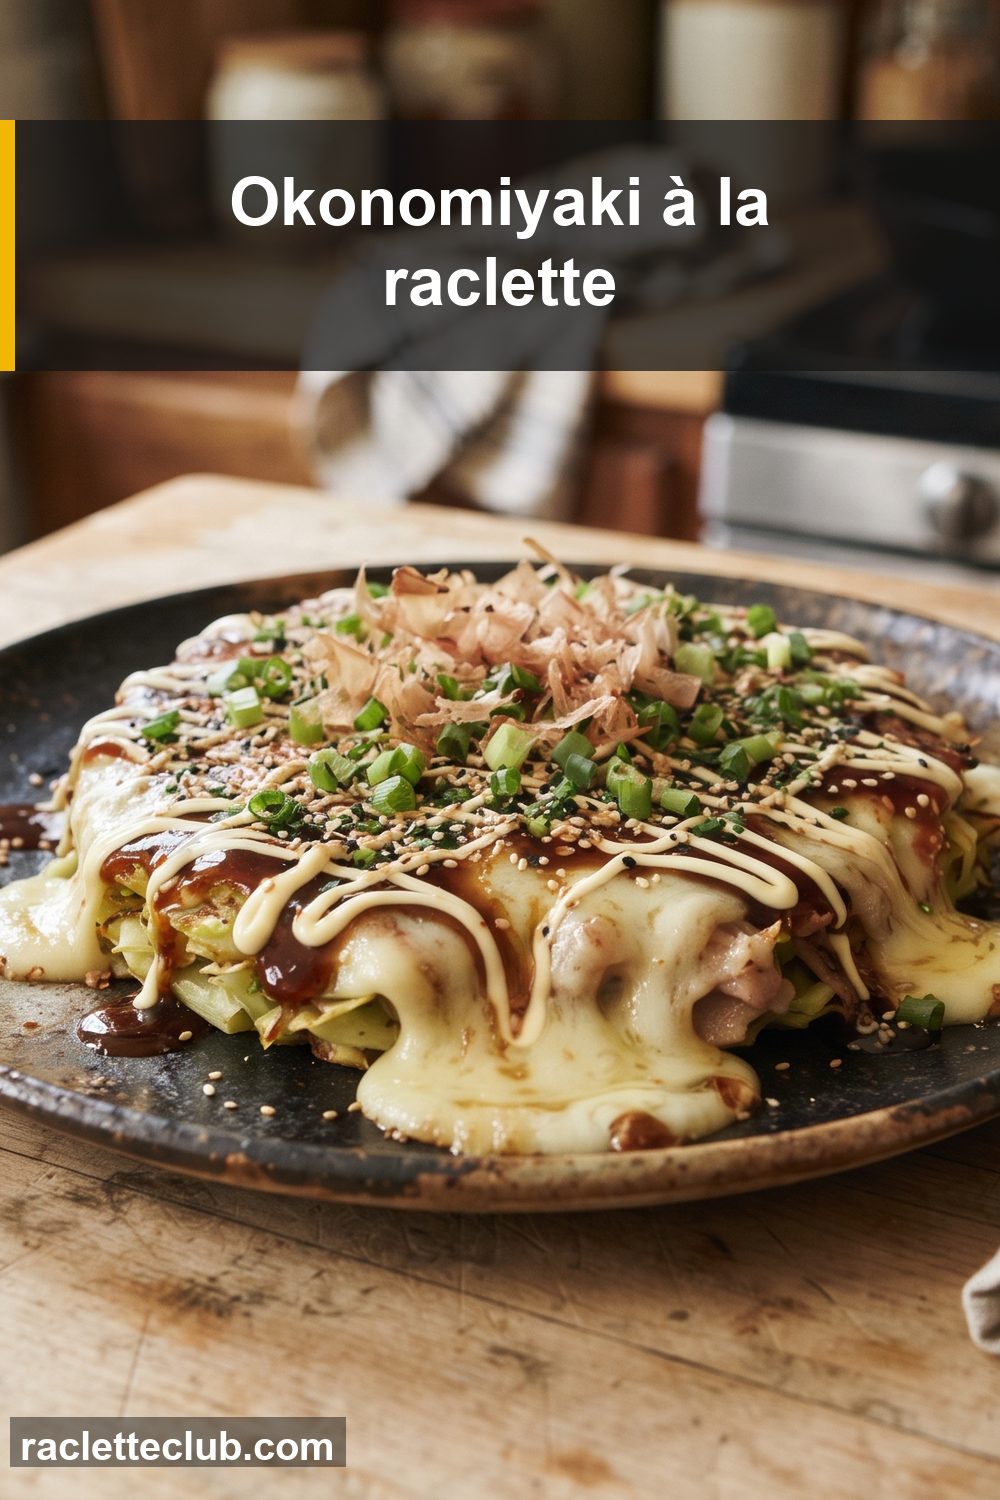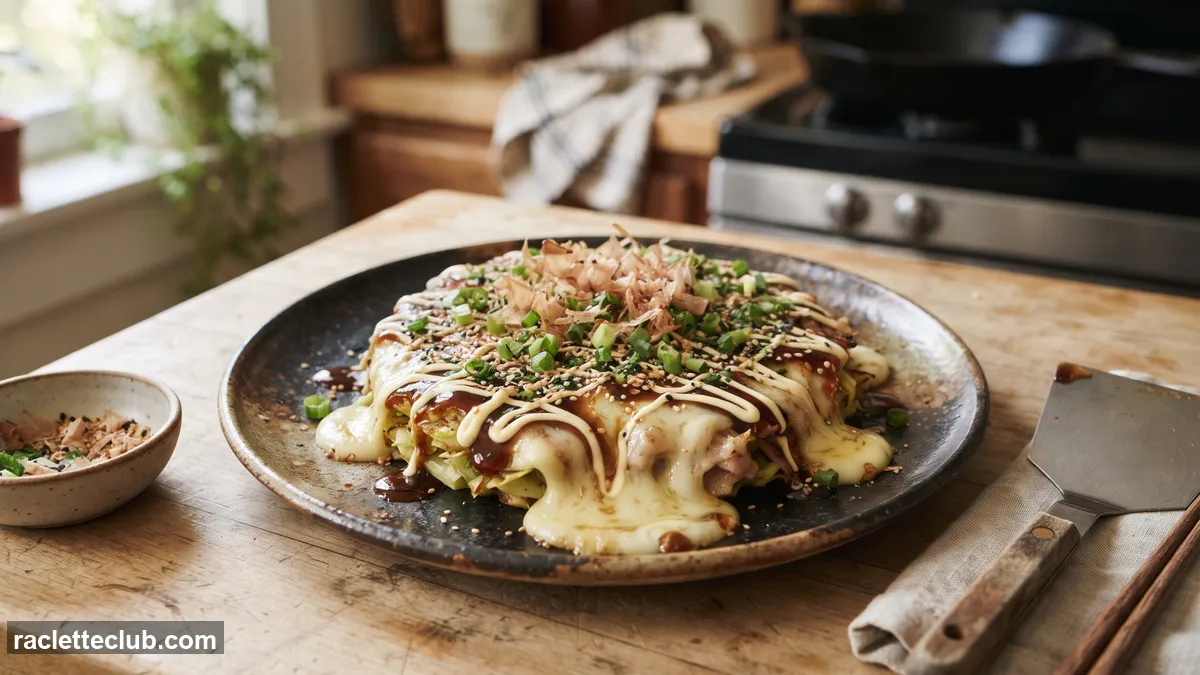
In short: Okonomiyaki is a thick Japanese pancake made from shredded cabbage, flour and eggs, cooked on a griddle and topped with sauce. Here, we cover it with melted raclette cheese before saucing: crispy underneath, melty on top.
Chef’s tip
Okonomiyaki is a pancake where you put “whatever you like.” So raclette cheese invited itself in, with the confidence of someone who knows it’s very much loved.
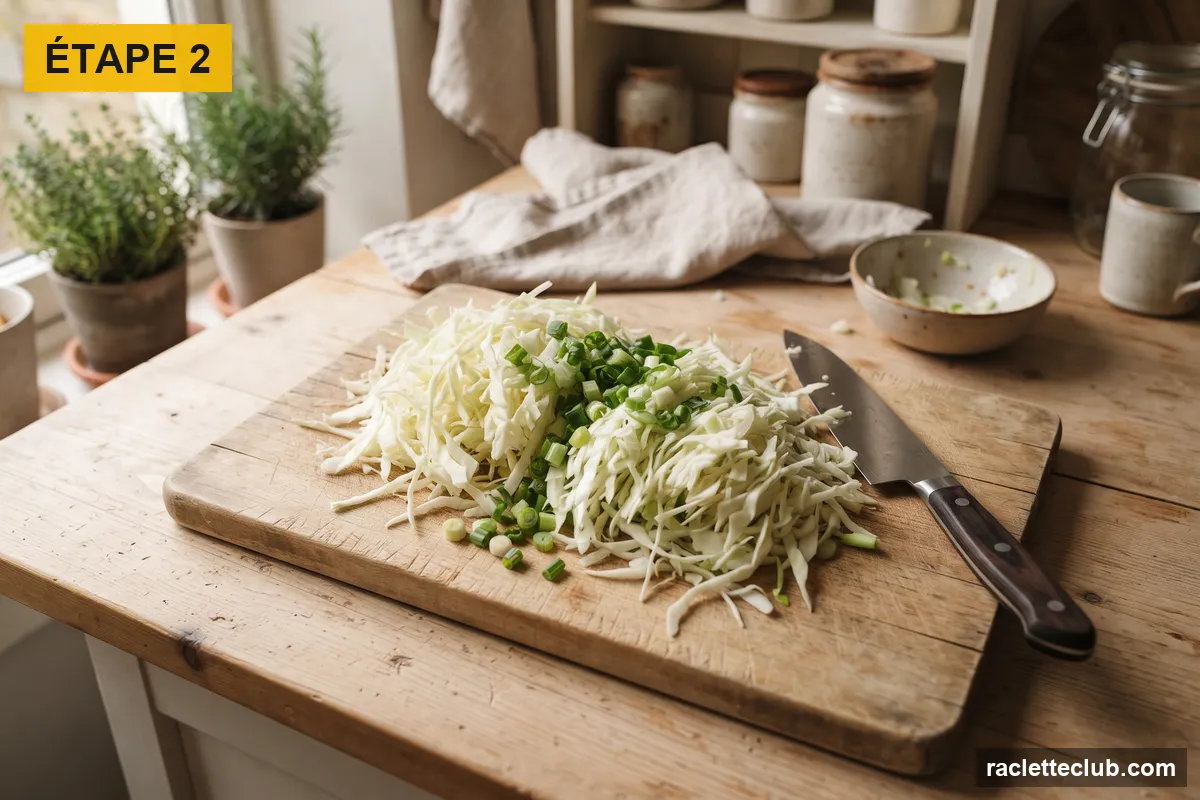
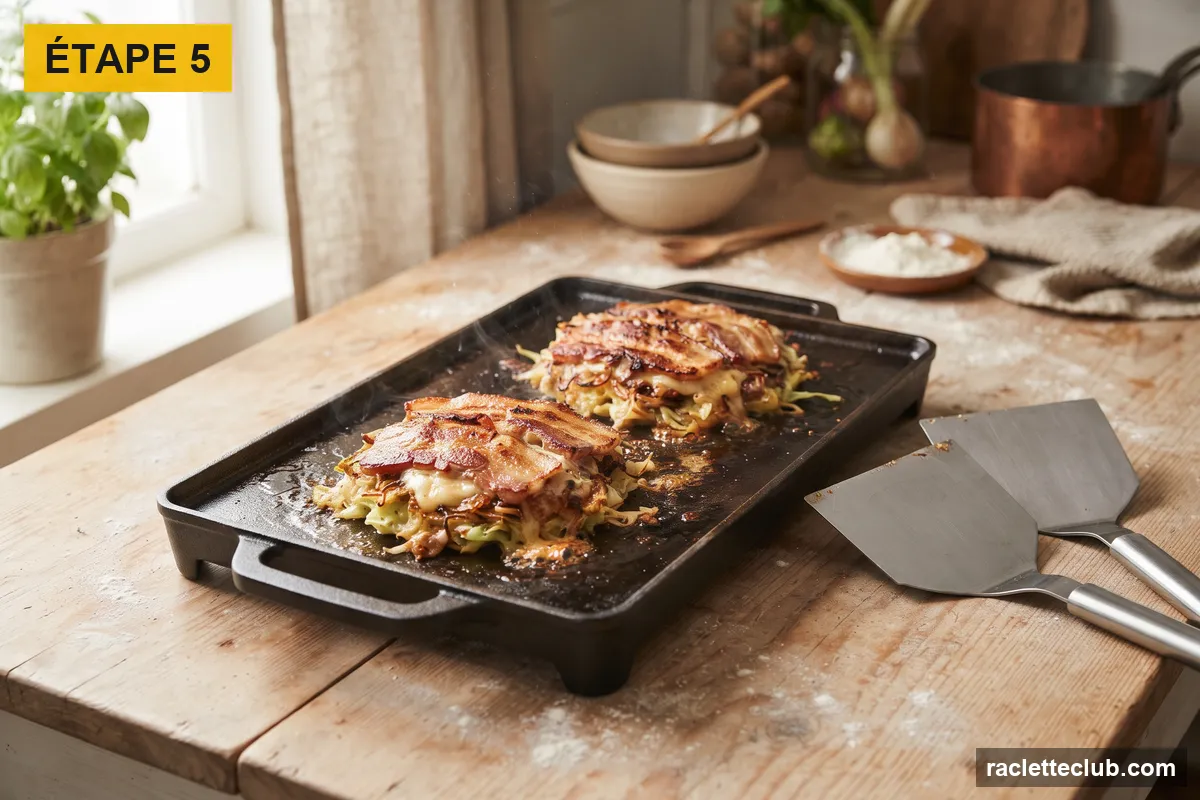
The cabbage must be shredded very finely, and the batter just thick enough to bind it: you should see more cabbage than batter. Cook over medium heat and only flip the pancake once the underside is nicely golden, using two wide spatulas: it’s the only tricky moment.
| Prep time | 20 min |
|---|---|
| Cook time | 25 min |
| Total | 45 min |
| Servings | 4 people (adjustable) |
| Difficulty | Medium |
Ingredients (for 4 people)
- 200 g of flour
- 20 cl of vegetable broth or cold water
- 4 eggs
- 500 g of white cabbage or pointed cabbage
- 4 scallions
- 200 g of very thinly sliced pork belly
- 600 g of sliced raclette cheese
- 4 tablespoons of ketchup
- 2 tablespoons of Worcestershire sauce
- 1 tablespoon of soy sauce
- 1 teaspoon of sugar
- 4 tablespoons of mayonnaise
- 1 tablespoon of oil
- Sesame seeds
- Optional: dried bonito flakes
Preparation
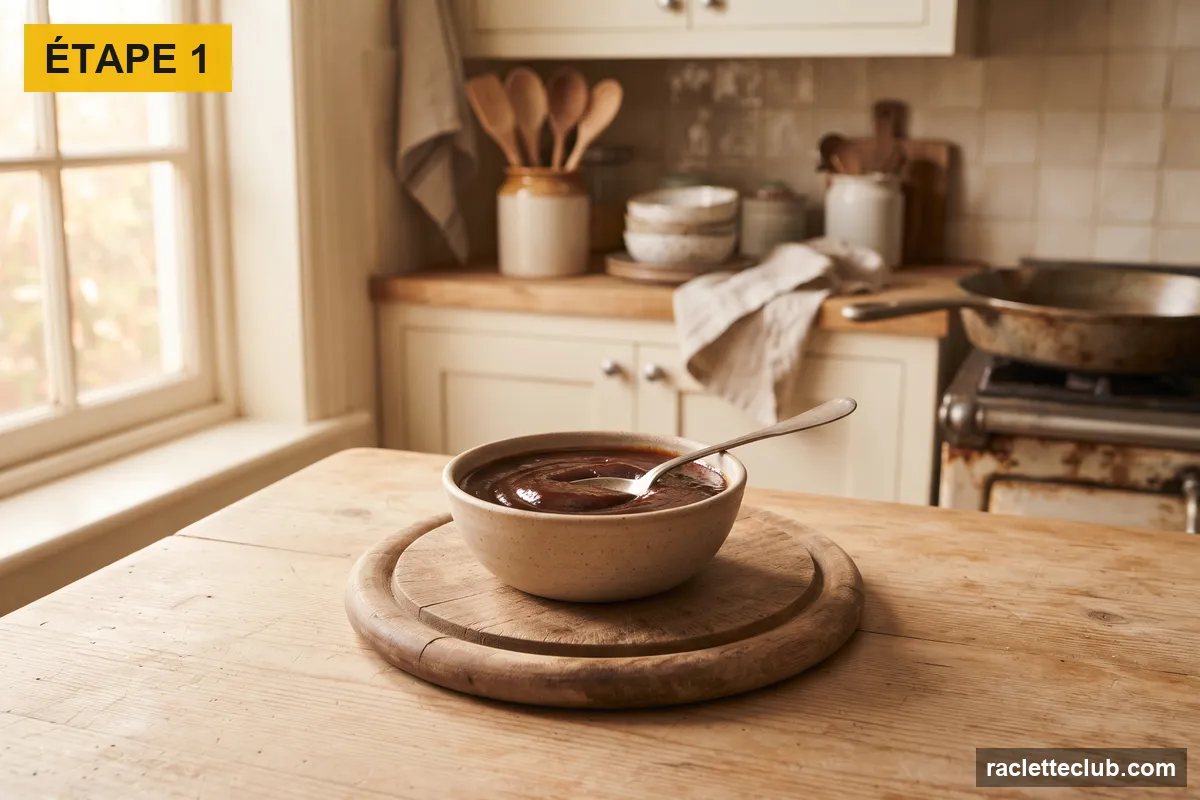
- Make the sauce. Mix the ketchup, Worcestershire sauce, soy sauce and sugar until the sugar dissolves.

- Shred the cabbage. Remove the cabbage core and shred the leaves into very thin strips, then finely chop the scallions.
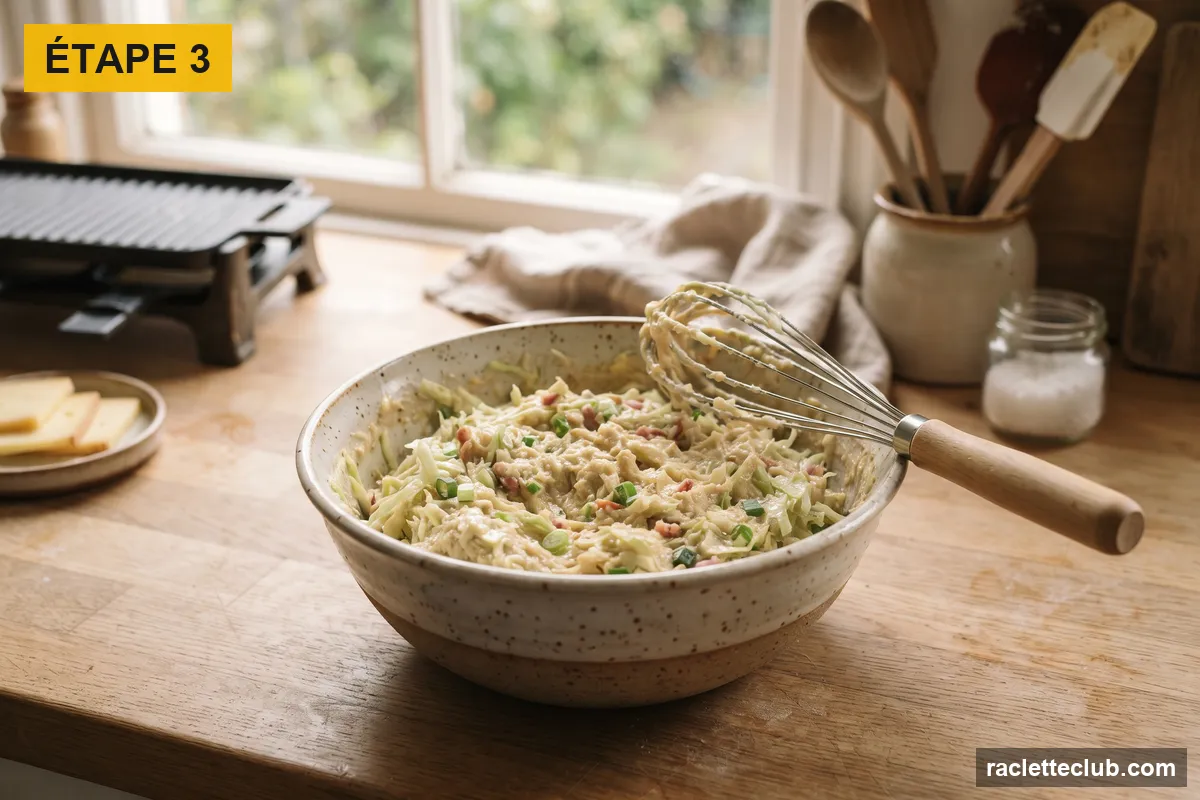
- Make the batter. Whisk the flour, cold broth and eggs, then fold in the cabbage and scallions. Mix just enough to coat the cabbage.
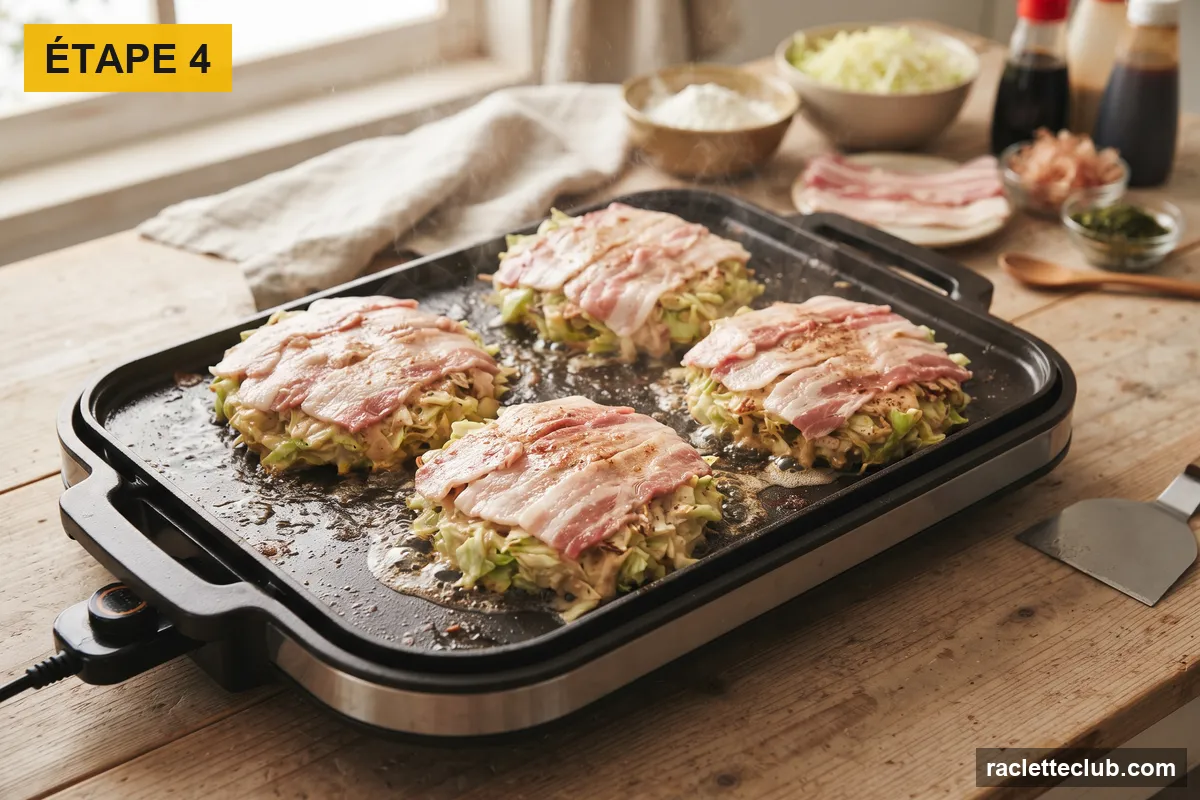
- Cook the pancake. Oil the very hot plate, pour the batter into pancakes about 2 cm (¾ in) thick and lay the pork belly slices on top. Cook for 6 to 7 minutes over medium heat.
- Flip. Flip each pancake with two spatulas, pork side down on the plate, and cook for another 6 to 7 minutes.
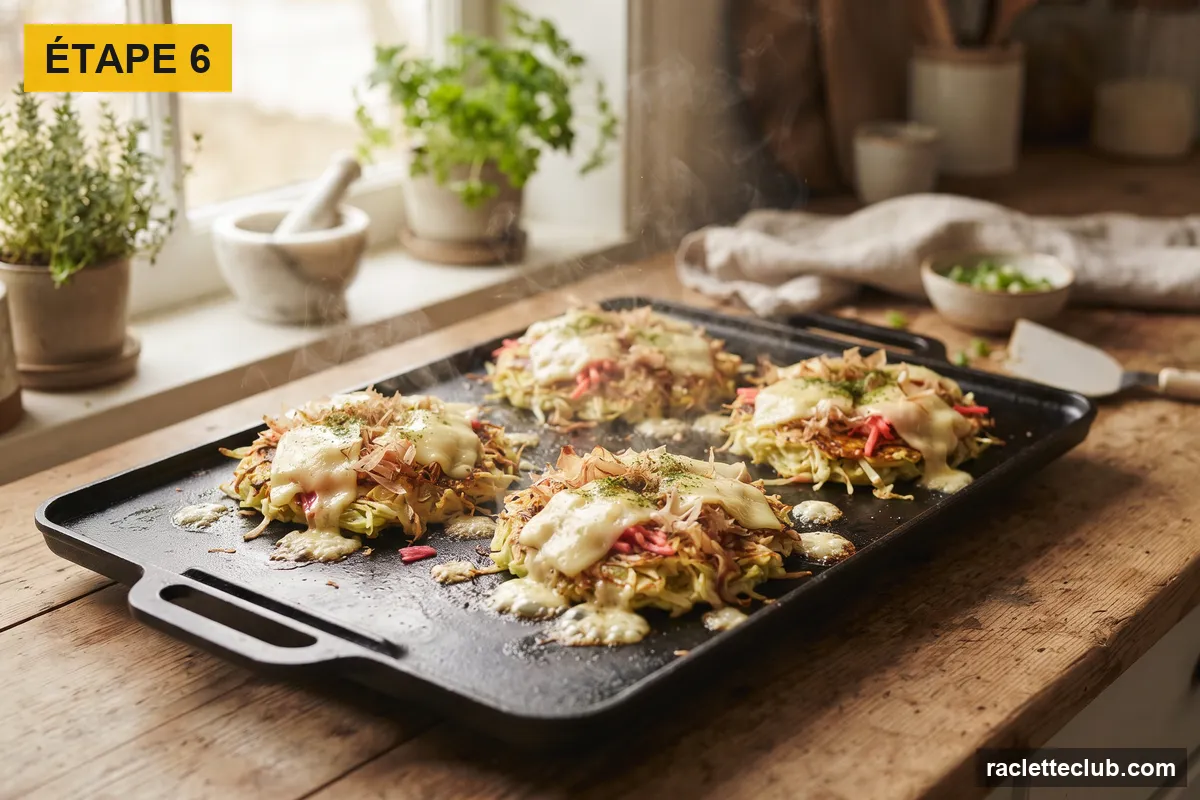
- Gratinée. Flip one last time, cover with slices of raclette cheese and let it melt for 2 to 3 minutes, under a lid or a cloche.
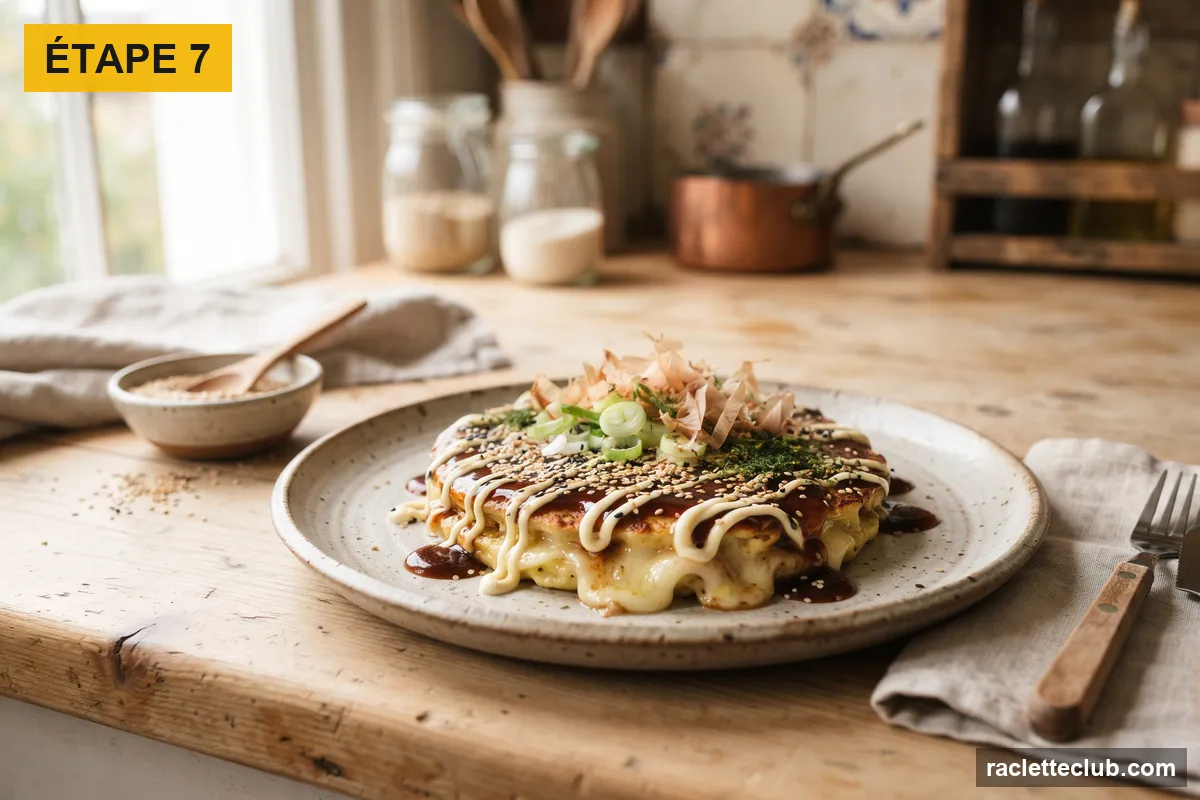
- Sauce and serve. Brush on the sauce, draw lines of mayonnaise, sprinkle with sesame seeds and bonito flakes if you have them, then serve right away.
Chef’s tips
- Use very cold broth: the batter stays lighter.
- Don’t press the pancake down with the spatula while it cooks: it should stay soft in the center.
- On the crêpe plate of the raclette crêpe maker, make smaller pancakes, about 12 cm (5 in): they’re much easier to flip.
- Put the mayonnaise in a small freezer bag and snip off a corner to draw thin lines.
Variations
- Replace the pork belly with shrimp or pieces of squid.
- Vegetarian version: no pork belly, with sliced mushrooms and corn in the batter.
- Add stir-fried noodles under the pancake for an even heartier version.
Which wine to serve?
A light lager, a cold green tea, or a dry, fruity white wine such as a Jacquère from Savoie.
Frequently asked questions
What does okonomiyaki mean?
The Japanese word combines the idea of “what you like” and “grilled”: it’s a pancake that everyone tops to their own taste.
Which cabbage should I use?
White cabbage or pointed cabbage, with tender leaves. Avoid red cabbage, which colors the batter.
Can I make the sauce myself?
Yes, the mix of ketchup, Worcestershire sauce, soy sauce and sugar gives a sweet and savory sauce close to the one used in Japan.
🧀 The right grill: the 3-in-1 raclette crêpe maker (pans, grill and crêpes), our comparison.
Read also: Buckwheat galettes on the raclette grill and Raclette crêpe